3D Scanning The Iconic Nike Dunk
Scroll down to see the process.
The Nike Dunk

Originally created for the hardwood (basketball), The Dunk quickly took to the streets. The Dunk was released in 1985 and even after
35 years is still one of the most collectible silhouettes on the market today. I recently was lucky enough to find a pair of Nike Dunks and just knew I had to 3D scan them. I had seen many videos in the past about photogrammetry and wanted to adopt the workflow. With this coveted sneaker, my photogrammetry
journey had begun.
Photogrammetry is the science and technology of obtaining reliable information about physical objects and the environment through the process of recording, measuring, and interpreting photographic images and patterns of electromagnetic radiant imagery and other phenomena.
Photogrammetry or 3D scanning, is taking photos of an object at varying heights and angles to capture information from an object. You essentially need 360-degree coverage of your object for the software to align the images and project the geometry appropriately.
After watching a few guides online, I set up a makeshift studio in my apartment and got to shooting.
My first time scanning the shoe I was very surprised with the results. The setup was very crude as I just put a piece of wood on the back of two chairs in my living room and circled the shoe taking close to 200-300 images. After processing the images, I imported them into Reality Capture (Photogrammetry Application) and started the alignment process. The first model I was able to generate was extremely detailed in some areas but other areas had holes throughout the shoe and was unusable. As photogrammetry is a very time-intensive process, I waited until the next day to try again.

Determined to learn the new process I quickly set up my new and improved studio 0.5. What I learned from my first scan was I needed more light, I needed to tuck in the shoe laces (which could easily be recreated in Cinema 4D or your modeling software of choice), also I needed to stuff the shoe with some recycled plastic grocery bags to prevent the shoe from deforming as I flipped it for the different angles during the capturing process. I also propped the shoe up with a tissue paper roll to elevate the shoe off of the platform. To address my lighting issue I incorporated a cheap Lazy Susan so I could easily rotate the shoe and keep my lighting consistent. You can see a video of the capture process with my new and improved setup. I tried this again with a black backdrop to hopefully better separate the subject from the background which resulted in my worst result yet.

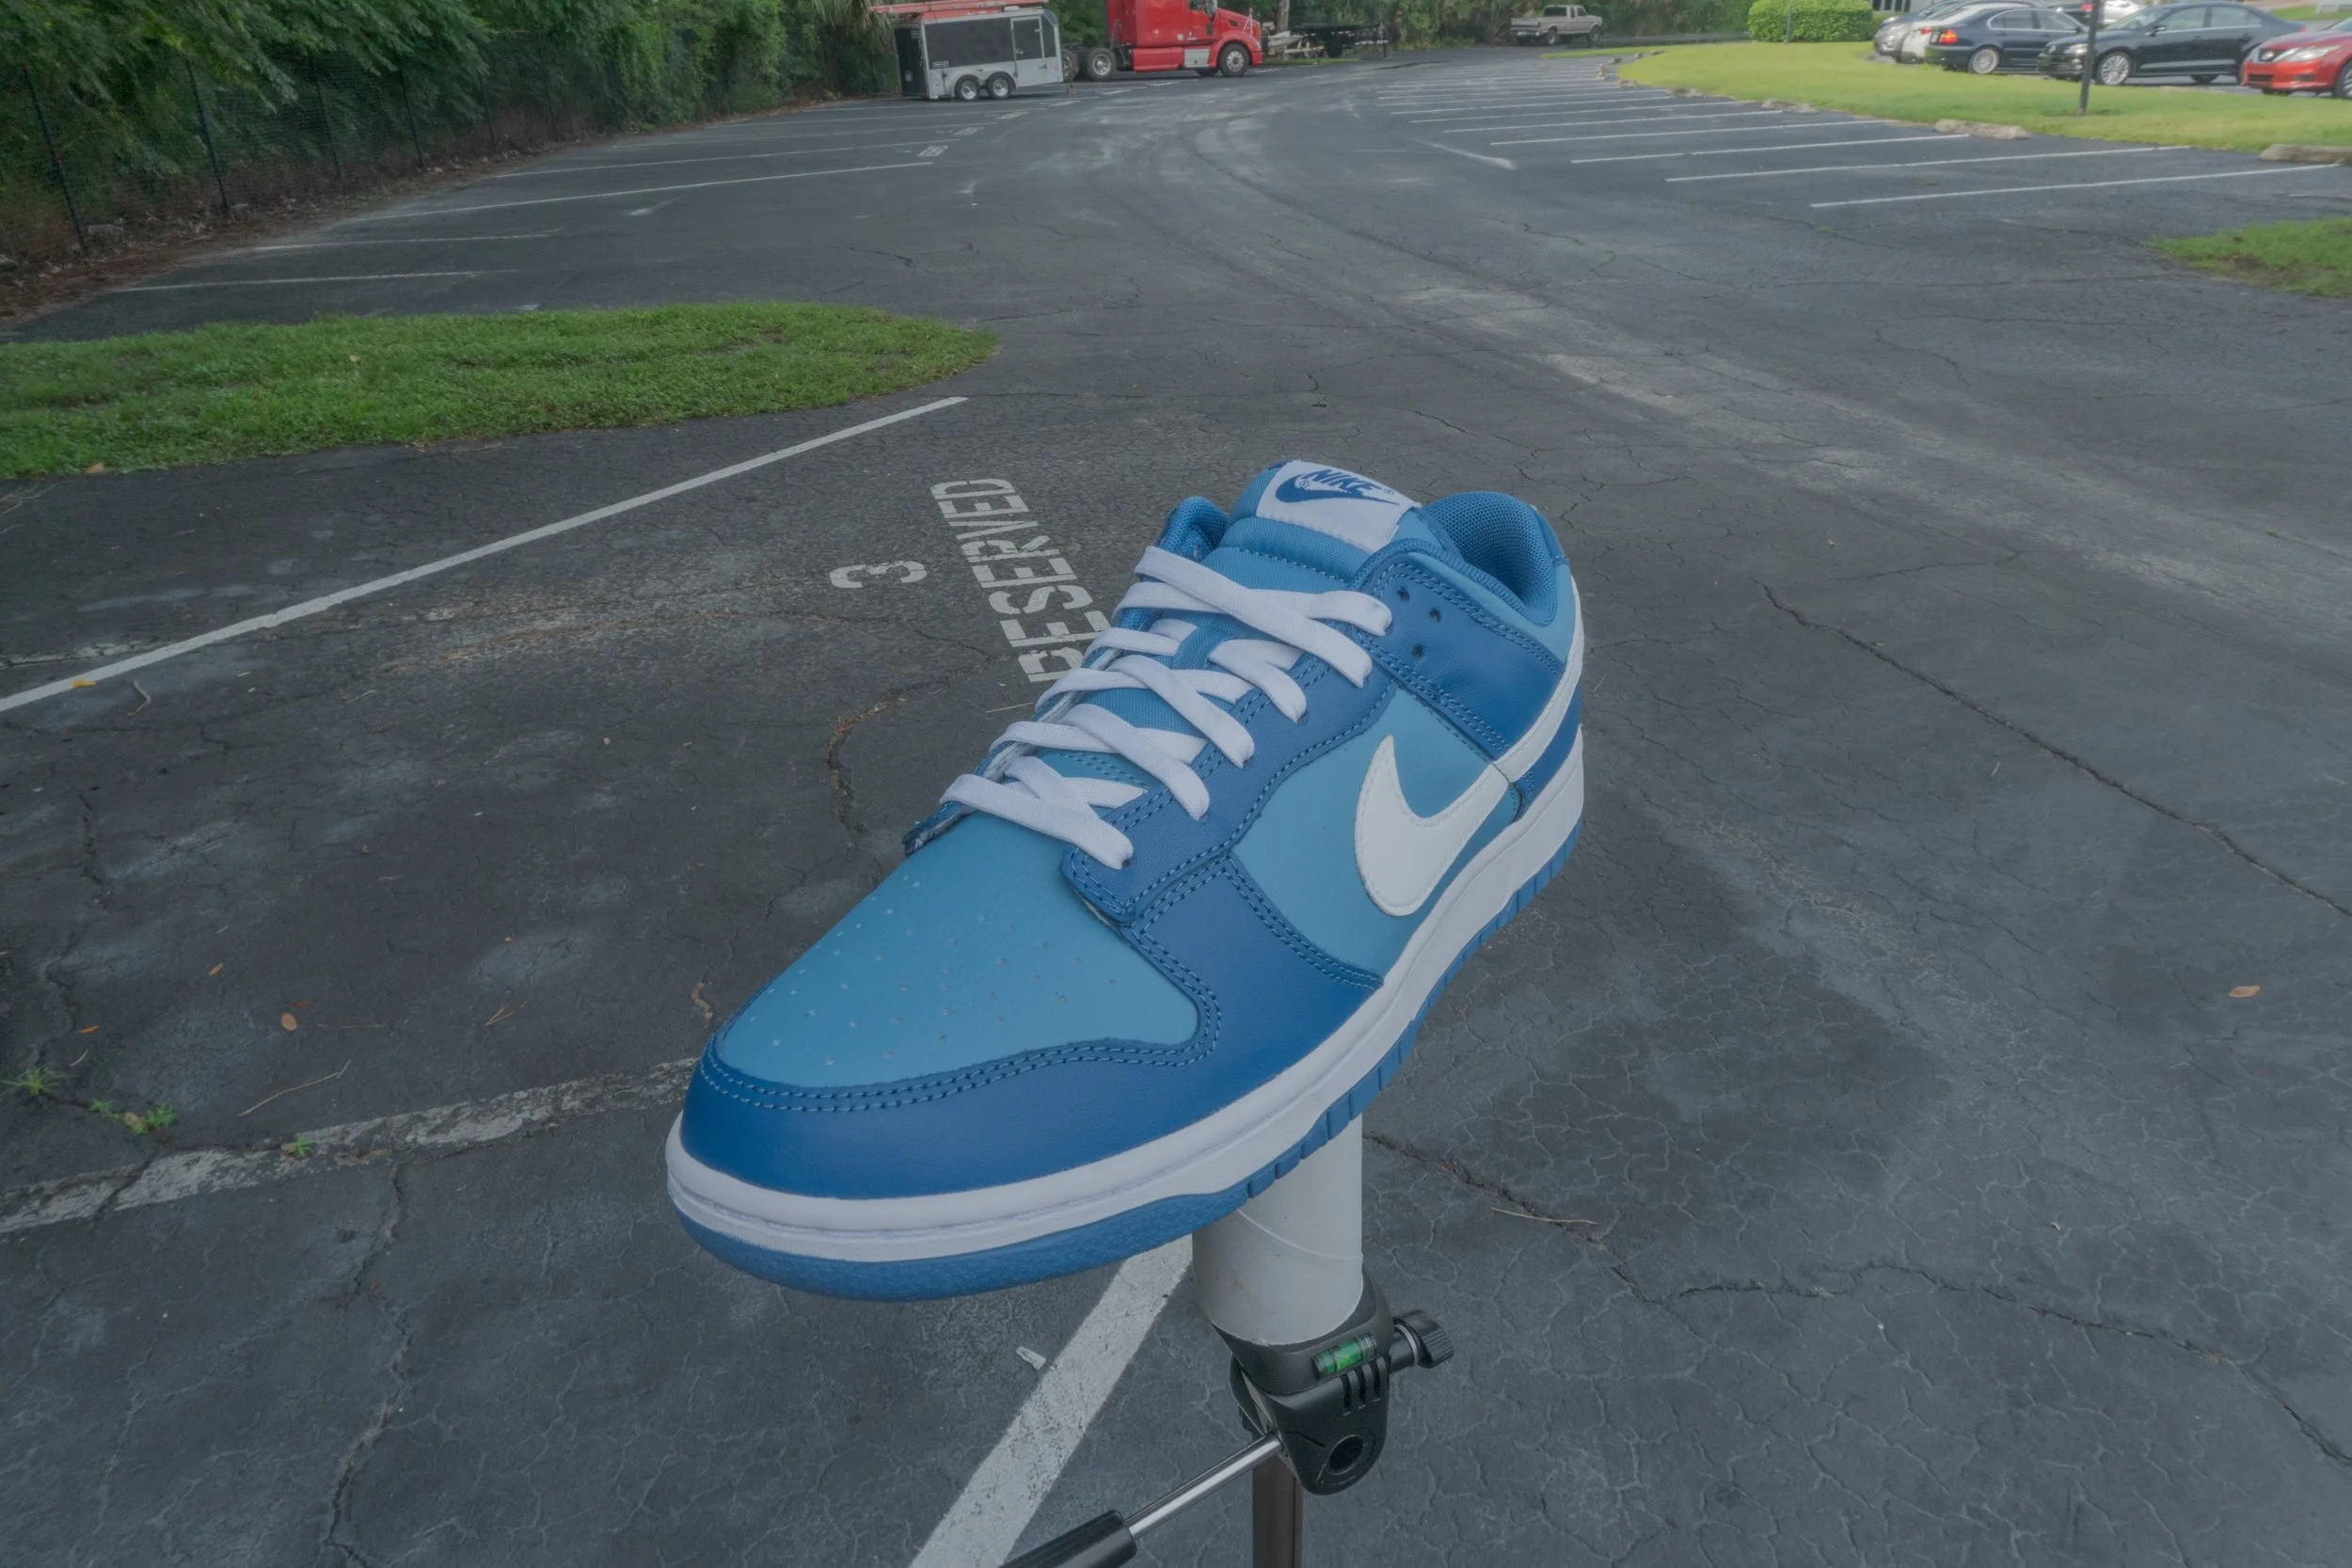
Unfortunately, the main issue with this scan is that I did not have enough pictures. Though I took multiple angles, Reality Capture had a tough time aligning them. This resulted in what seemed like a step backward. Again my biggest issue is lighting. Based on my research, consistent and even lighting is crucial for getting a good scan. Many people have recommended shooting on an overcast day but being in the summer months of Florida it’s usually rain or shine, and the time between is very limited. However, I woke up early before the sun fully came out and tried the process once more outside in an empty parking lot. My biggest problem while shooting outside was my patience. I was racing against the sun and was not taking my time. This resulted in many of the images being blurry, mainly from not holding the camera steady, or in some instances entirely out of focus. I also experimented with PolyCam, an extremely powerful 3D scanning application for iOS and Android devices that utilizes both lidar and your phone's camera to capture 3D objects. However, my results were the worst of all techniques I’ve tried so far. That being said, many people have had success scanning small objects such as vinyl toys and even shoes and the results are great. I just haven’t had the same experience and personally am sticking with larger objects for quick scans. Mainly 3D objects that would be in the background as opposed to hero objects that will be very close to a virtual camera. I hope you enjoy this “Fraken Dunk” that I captured which does not at all showcase the power of PolyCam. Please don’t let this image discourage you from experimenting with the app. There are many great examples of how to better utilize this app online.


Slightly discouraged with my results I took the next day off to research further techniques and common practices so I could finally accomplish my goal of 3D scanning an object and having an asset ready for a 3D Motion Graphic project. I watched an amazing video by Grzegorz Baran where he documented his Photogrammetry Journey on Video and I would highly recommend watching that video if you are interested in learning 3D Prop Scanning.
You can see that video here.
One common thing I’ve noticed with the many tutorials I’ve watched on the subject was a “Ring Flash”. I also ordered a small studio tent so I could place the shoe inside and it would act as a giant softbox for my lights. An interesting concept I learned was cross polarization where you have a polarizing filter on your lens and your ring flash and it eliminates your reflections which is great for 3D scanning.
With my new upgrades, I was ready to scan once more. With the soft light coming through the light box, the ring flash, and the polarizing filter I began shooting. Full 360 degrees, four varying angles for both the top, bottom, and sides of the shoe.
The results were amazing. I did have to use control points to manually align some of the images, another thing I changed to the setup was a sheet of paper with some high contrast tracking points. This allowed me to choose points from different angles and help Reality Capture align the images.
In the second clip above you can see all the dots surrounding the 3D model, Every single point represents a camera angle. I exported the model and fired up Cinema 4D to do a test render.

My first render with the scan wasn’t anything crazy, 3 keyframes while playing with the S-Curves, a little compositing in After Effects, and I had myself a new skill in my toolkit. You can see the final results below.